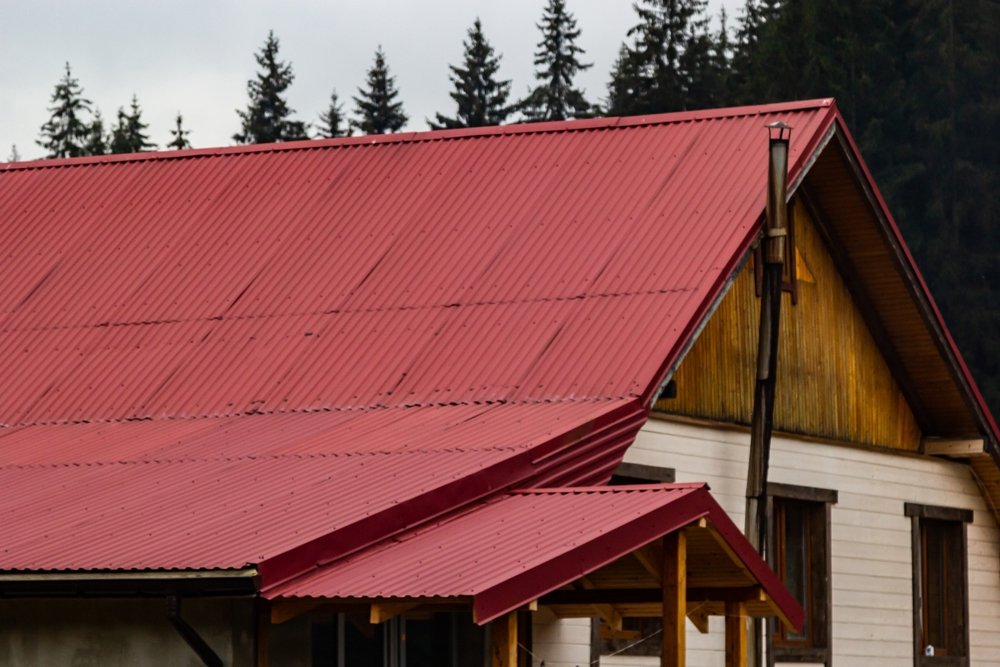
If you’re a homeowner and an avid DIY enthusiast, who’s looking for a top-notch, durable and stylish roofing solution, Colorbond might be just what you need. Have you ever wondered about the transformative potential of a fresh, sleek roof? How it not only protects and insulates, but influences the overall aesthetic of your property? Are you curious about how you can make Colorbond Steel roofing a DIY project? If so, then we’re on the same page! In this blog post, we’ll take you on a step-by-step journey of installing Colorbond Steel roofing.
With decades of innovation and testing, Colorbond Steel roofing has emerged as a leading choice for those wanting reliability, durability, and style. But what makes it such a hit? It’s an intriguing blend of technological advancement and design flexibility. So, let’s dive deep into this spectacular roofing concept and find out how you can make the most of it. Whether you’re a stringent minimalist, a lover of bold eccentricities, or somewhere in between, this comprehensive guide is designed to launch you headfirst into your roofing project with added reassurances.
The Allure of Colorbond Steel Roofing
Why would you choose Colorbond Steel roofing? To start with, it’s robust. The design incorporates Zincalume steel base, lending it an incredible strength and making it resistant to weather extremes. But strength is just the beginning. The Colorbond range is also about aesthetic versatility. With the array of colours and finishes, it can complement any architectural style, from traditional to contemporary.
It also houses thermally efficient qualities. The steel reflects more of the sun’s harsh rays, helping your property stay cool during searing summers. When it comes to installation, its lightweight nature lends it a fuss-free process. Lastly, it is corrosion-resistant, requires minimum maintenance, and offering longevity unlike any other material.
However, like any roofing material, it has its share of cons. Its significant expense compared to traditional materials might appear a deterrent. The steel roofing also demands precise installation; a sloppy job can lead to leaks and long-term damage. Despite these, the benefits undoubtedly make Colorbond a worthwhile investment.

Selecting Your Colorbond Steel Roofing
Choosing the right Colorbond roofing for your property involves more than selecting a colour. While aesthetics play a role, considering factors like your location, climate, architectural style, and local building regulations are equally crucial. Start by researching your local building regulations to ensure your chosen roofing material complies.
Your climate plays a significant role in determining the Colorbond product most suited to your needs. For instance, the highly durable Colorbond Ultra is best suited for severe coastal and industrial environments. Your architectural style can steer you towards traditional or contemporary Colorbond profiles, shaping the roof’s final look.
Essential Tools for Your Installation Job
Before delving into the installation process, let’s ensure we have all the necessary tools in place. The key tools needed for a DIY Colorbond installation include a good roofing square, a set of tin snips, a cordless drill, roofing screws, a ladder, safety glasses, and a durable workbench. You’ll also need roof clamps to secure roofing sheets in place while working.
Colorbond Steel Roofing: The Step-by-Step Installation Guide
Installing Colorbond roofing demands accuracy, patience, and safety measures. The process involves measuring your roof, ordering materials, installing battens, laying sheets, installing ridge capping, and finishing off with the flashings.
Maintaining Your Colorbond Steel Roofing
Once installed, your Colorbond roof requires periodic maintenance to retain its optimal condition. Routine tasks include clearing debris, checking for scratches, and re-painting if needed. Regular maintenance not only increases the lifespan of your roof but also helps identify potential issues at their nascent stages.
Wrapping Up
Installing Colorbond Steel roofing might seem like a daunting task, but with this comprehensive guide, we hope the process appears less intimidating. Remember that the key to a successful installation lies in accurate measurements, careful sheet laying, and meticulous yet routine maintenance. Of course, professional assistance is always a phone call away. But if you’re determined, patient and adore hands-on projects, why not give it a try? A new roof is a significant investment and making it a DIY venture adds an additional layer of personal accomplishment. There’s nothing quite like the enduring satisfaction of a job well done, especially when it enhances the safety, value and aesthetic appeal of your cherished abode!


