

Taps that constantly leak or drip in any housing system are a significant nuisance in daily living. Not only do they make an unpleasant sound, but also the possibility exists that the leakage might result in a big disaster if neglected in the initial stage. Moreover, a daily loss of gallons of water can happen. As a result, you will also see your water bill increase.
In such problems, you may repair the leaking tap on your own if you have some expertise in this particular area otherwise you must hire professional plumbers. Fixing these problems could cost you some money upfront, but it will end up saving you cash in the long term.
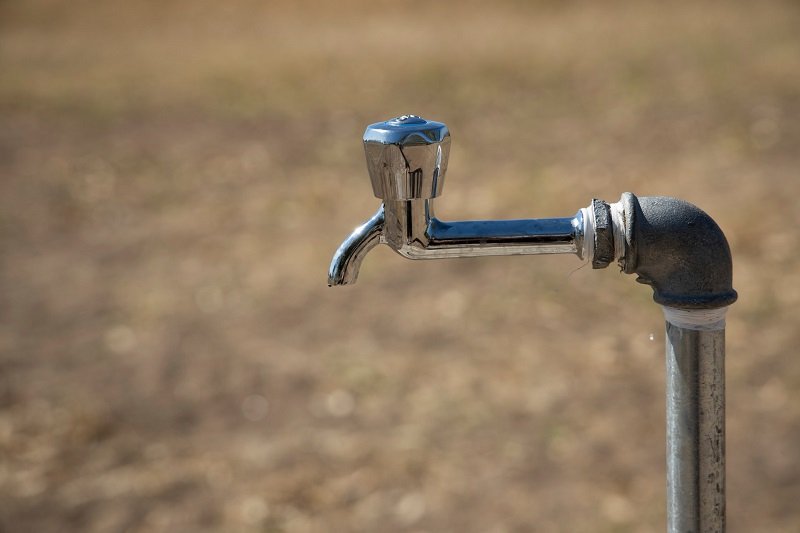
This Article Is Written For Those Of You Who Are Interested In Fixing Leaking Taps With Maintenance On Your Own.
Equipment You’ll Need To Fix Leaking Taps:
Below are the equipment used to fix leaking taps.
- A cross-headed screwdriver
- A replacement cartridge
- Lubricant
- An adjustable spanner
Before You Start This Repair, You Need To Do Two Things:
- Get replacement parts:
If the tap spills when it is shut off, the jumper’s value washer needs to replace. When you turn on the tap and water starts to run or ooze out from beneath the cover plate, between the tap body and spindle, or somewhere else, you must change the O-ring in any case, the tap will have to be taken apart. So, before you fix the leaking taps, you should replace the parts.
- Turn off the source of the water:
The second thing you must do before you start the repair work is turn off the water source. On the pipe that runs below the tap that you need to work on, there is likely to be an isolation valve. Find the stopcock that is located closest to you and turn it so that the supply is cut there instead. It is necessary to use a screwdriver to rotate this. Before you begin to disassemble it, ensure there is no water leaking from the tap by turning it on and checking it.
The Easy Steps To Fix Leaking Taps:
- The first step to fix leaking taps is to remove the handle and cover or the combination handle and cover from the tap and then loosen the tap headgear nut to release the body of the tap from the fitting. Cover the nut with a towel to prevent scratching while the tap is being used if the nut is exposed.
- It is essential to hold the spout in place as you unscrew the headpiece to avoid the tap from rotating completely in the wrong direction. Otherwise, it may cause the plumbing to get damaged or even shatter the sink.
- To fix leaking taps, you must find someone to assist you in securely gripping the tap by the spout or use the hand that is not holding the spanner to do so. If the nut is stuck, putting too much power to remove it can cause more breakage or leakage and flood the bathroom. So, try loosening it with some penetrating oil.
- When the body of the faucet has been detached, the old washer may be detached from the pin at the bottom of the faucet. It might be as simple as pulling it off with pliers, or you might need to loosen a nut or screw first.
- You must also identify if there is any malfunction in the washer that is producing the leak or not. If the washer looks in excellent shape, then the valve seat within the fitting may have been worn down instead. This can be fixed by yourself, but it is recommended that you consult a plumber since the surface of the valve has to be reground, which requires specialized equipment.
- Install the replacement washer. It could be difficult to get the washer over the pin because of the close fit. In that case, spread some petroleum jelly over the area, and then use the flat side of your pliers or a wrench to press it down.
- You are now able to reinstall the tap headpiece. However, as you are tightening the nut, be sure to keep the tap firmly in place. Check that the faucet is functioning normally once you have turned the water supply back on.
Takeaways:
- Ensure the water pressure is correct and the fittings are not over-tightened to prevent a leaky tap.
- Repairing a leaking faucet often necessitates replacing the fixture itself.
- Instead of opting for DIY fix leaking taps, you must think about hiring a tap repair service because it’s risky to do it alone.
Conclusion:
These are some of the most practical ways to deal with a dripping faucet. Nonetheless, if you suspect a more serious issue it is best to talk to a licensed plumber. Read this post if you’re interested in learning more about repairing dripping faucets. If you want to know how to fix leaking taps, you may read this article.


